How to Trim a Hedge in Six Simple Steps
Trimming a hedge may seem straightforward, but doing it right can make a big difference in your garden’s appearance and the hedge’s health. Wondering where to start?
Here’s a step-by-step guide that simplifies the process, ensuring you achieve professional results every time. Let’s dive in!
Why Proper Hedge Trimming Matters
Regular hedge trimming isn’t just about keeping your garden tidy—it’s about maintaining the plant’s health, encouraging growth, and shaping it to fit your landscape. Poor trimming practices can lead to patchy, uneven hedges or even long-term damage.
Step 1: Gather the Right Tools
Before you start, ensure you have.
Hedge trimmers - Manual, electric, or petrol-powered, depending on the hedge size.
Protective gear - Gloves, goggles, and sturdy footwear.
A ladder - For taller hedges.
String or stakes - To guide straight edges.
A tarp or garden bag - For easy collection of clippings.
Case Study: Choosing the Right Trimmer in Auckland
A homeowner in Auckland trimming a dense pittosporum hedge found that switching from manual shears to an electric trimmer halved the time spent and produced cleaner cuts.
Step 2: Inspect the Hedge
Take a few moments to.
Look for dead or diseased branches.
Check for nests or wildlife, especially during spring.
Identify uneven areas that need extra attention.
Pro Tip: Mark problem spots with chalk or tape so you don’t miss them during trimming.
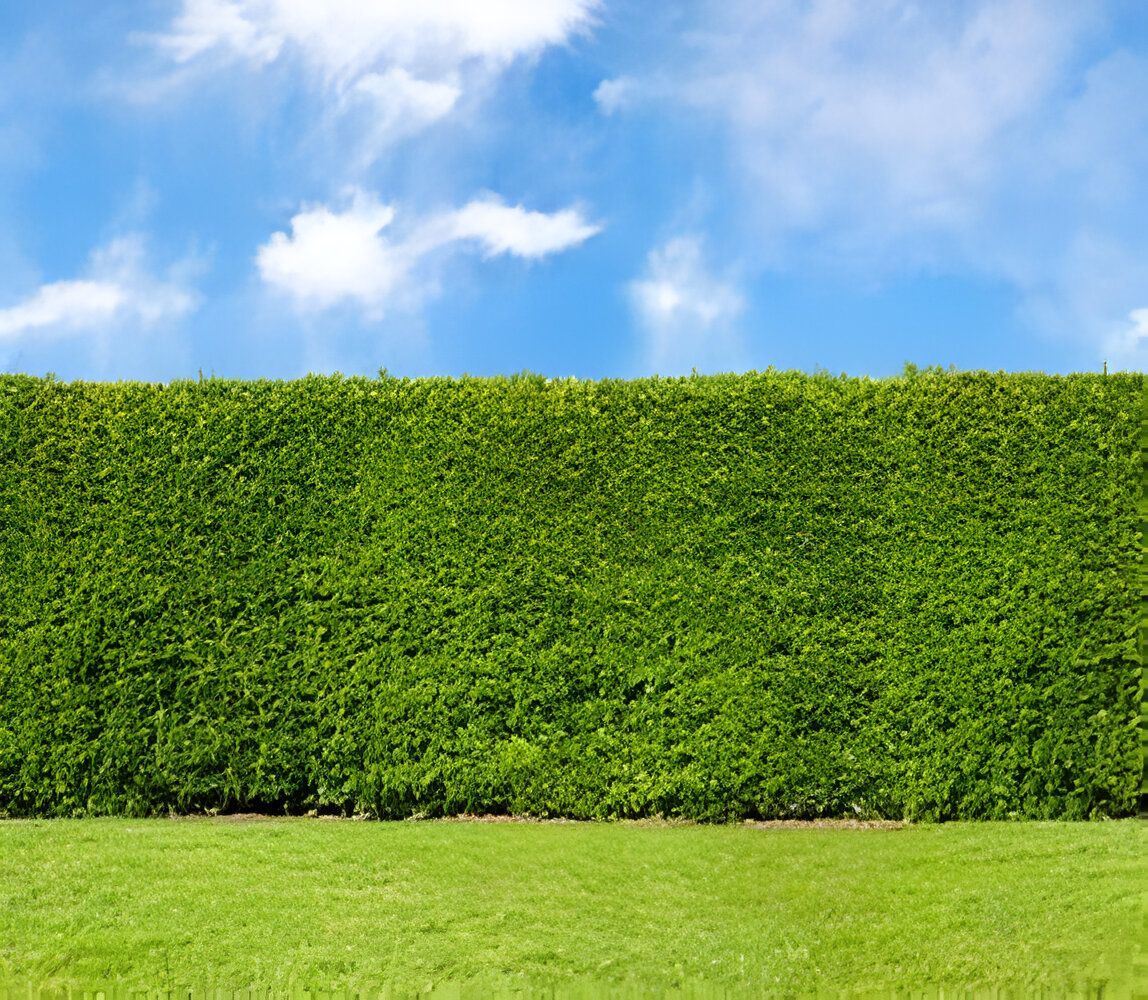
Step 3: Plan the Shape
Decide on the hedge’s desired shape—flat-topped, rounded, or formal. Use string lines or stakes as a guide for straight edges, especially for taller hedges.
Case Study - Shaping a Formal Hedge in Wellington
A Wellington homeowner used stakes and string to shape their privet hedge into a perfect rectangular form. The result? A polished, professional look that boosted their property’s curb appeal.
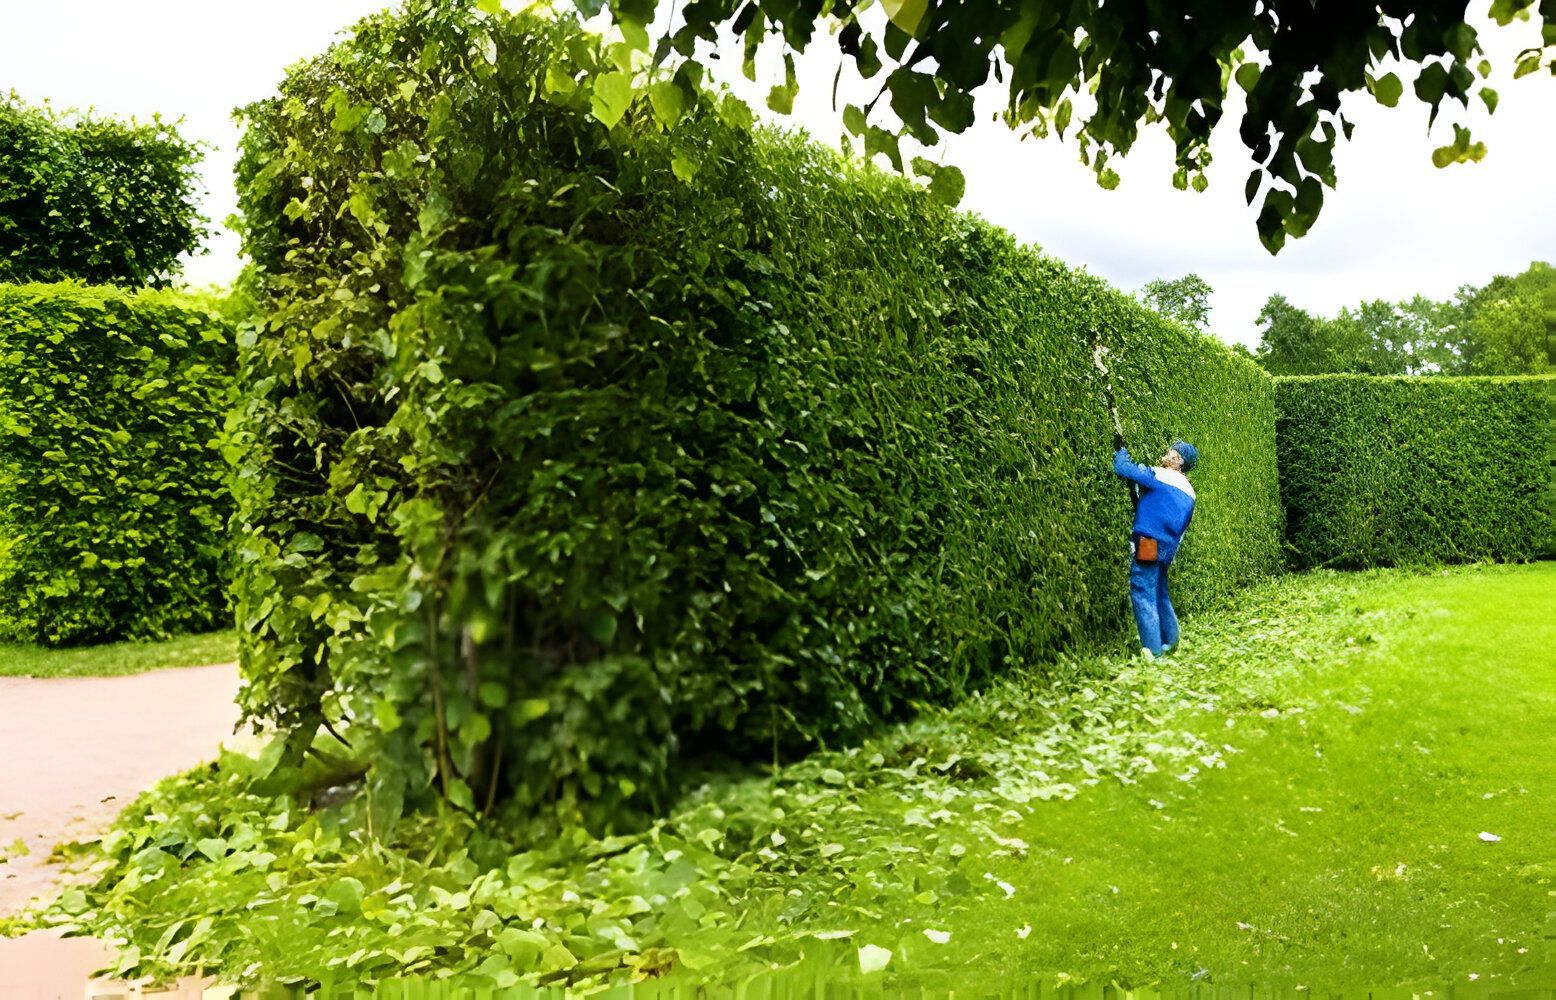
Step 4: Trim the Sides First
Start trimming from the bottom and work your way up. This method ensures clippings don’t obscure sections you’ve already trimmed.
Keep the base slightly wider than the top to allow sunlight to reach the lower branches.
Pro Tip: Use long, sweeping motions for a smooth finish.
Step 5: Finish with the Top
Once the sides are complete, focus on the top. Keep your trimmer level and follow the guide lines for a consistent height. Avoid cutting too much at once—take it slow for better accuracy.
Case Study - Leveling a Hedge in Christchurch
A Christchurch family trimmed their camellia hedge’s top last, achieving a perfectly even height by moving slowly along the string guide.
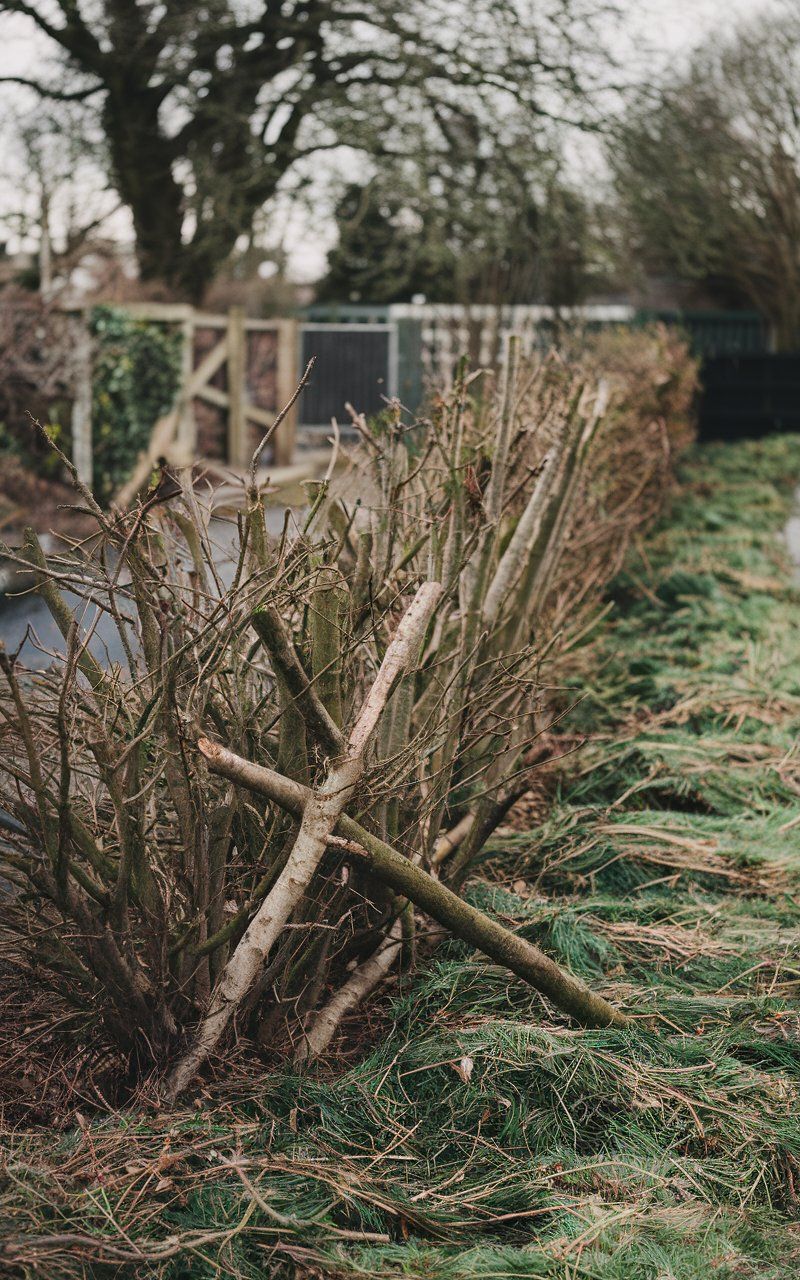
Step 6: Clean Up and Inspect
After trimming
Collect all clippings to prevent pests or diseases from spreading.
Inspect the hedge for missed spots or uneven areas and make final adjustments.
Water the hedge to reduce stress from trimming.
Pro Tip: Add the clippings to your compost pile for an eco-friendly disposal method.
Common Mistakes to Avoid
1. Over-Trimming
Removing too much foliage can stress the plant and slow regrowth.
2. Ignoring the Season
Trimming in the wrong season (like autumn) can expose the hedge to frost damage.
3. Neglecting Safety
Always wear protective gear and ensure ladders are stable when working at height.
How Often Should You Trim Your Hedge?
The frequency depends on the hedge type.
Fast-growing hedges (e.g., pittosporum): Every 6–8 weeks during the growing season.
Slow-growing hedges (e.g., boxwood): Twice a year, in late winter and midsummer.
Cost of Professional Hedge Trimming in NZ
Hiring a professional can range from $50 for small hedges to $300+ for large or complex ones.
Additional costs may include
Green waste removal: $50–$100
Shaping services: $50–$100
For more accurate pricing, check out our 2025 Hedge Trimming Price Guide or use our Hedge Trimming Calculator to estimate costs.
Case Studies: Hedge Trimming Success Stories
Case Study 1 - Restoring an Overgrown Hedge in Queenstown
A Queenstown homeowner transformed their overgrown Griselinia hedge with a professional trim.
The $250 cost included shaping and green waste removal, and the hedge now looks tidy and healthy.
Case Study 2 - DIY Hedge Trimming in Hamilton
In Hamilton, a small lavender hedge was trimmed DIY-style using manual shears.
Although time-intensive, the homeowner saved $100 and gained experience in hedge maintenance.
Conclusion - How to Trim a Hedge in Six Simple Steps
Trimming a hedge doesn’t have to be daunting. By gathering the right tools, planning the shape, and following these six simple steps, you can achieve a professional-looking result that enhances your garden’s overall appeal.
For those who prefer to leave it to the experts, contact a local hedge trimming professional today or explore our Hedge Trimming Calculator and 2025 Price Guide to budget your project with confidence!